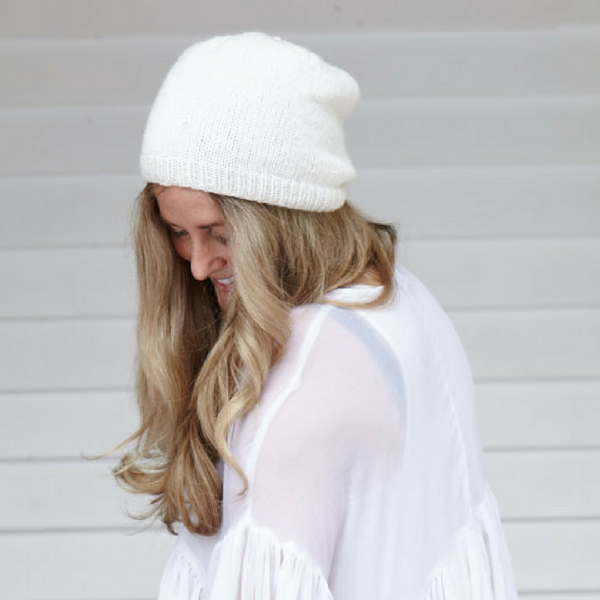
Beanie.
Easy to knit, easy to wear, easy to love. Plump & Co X Wool days beanie pattern knits up quickly, so it’s the perfect last minute gift this festive season. Also looks super cute with a pom pom. 
Materials
65 (85, 104, 125, 156) Metres / 71 (93, 114, 137, 171) Yards
DK weight (8 ply) yarn
Guage
10x10cm (4x4inch) square stockinette stitch = 20 stitches x 28 rows after blocking
Needles
16 inch circular needles in size 4mm (6US) or size needed to obtain gauge
16 inch circular needles in size 3.5mm (4US) or half a size down from needle needed to obtain gauge
Larger circular for magic loop method (it is possible to do magic loop with the 16 inch length if your needles are 10cm (4 inches) or less but it is a little awkward) or DPN’s if preferred in size 4mm (6US) or size needed to obtain gauge
Finished Dimensions
Head Circumference
Baby (Toddler, Child, Medium Adult, Large Adult)
35.5 (43, 48, 53, 61) cm / 14 (17, 19, 21, 24) inch
These are the finished dimensions. We suggest choosing a size with 2.5-5cm (1-2 inches) of positive ease for a slouchier fit and a size with zero or negative ease for a more fitted look.
Tools
Blunt tapestry needle
Stitch markers
Techniques
Knit (k): with working yarn in back, the right needle is inserted into the front loop of the next stitch on the left needle from front to back. Yarn is then wrapped anti-clockwise around the tip of the right needle and pulled through to create a new stitch.
Knit 2 Together (k2tog): knit two stitches together as though they were one, decreasing one stitch.
Long-Tail Cast On: a stretchy and versatile cast on that is started with a long tail of yarn. The length of yarn needed is 3-4 times the length of your cast on edge; for example, for a bottom up hat, you will need 3-4 times the head circumference to allow enough yarn for your cast on.
Purl (p): with working yarn in front, the right needle is inserted into the front loop of the next stitch on the left needle from back to front, Yarn is then wrapped anti-clockwise around the tip of the right needle and pulled through to create a new stitch.
Slip, Slip, Knit (ssk): slip two stitches, one at a time, onto the right needle. Insert the left needle into the front of the two stitches and knit through both of them, decreasing one stitch.
Small Circumference Knitting: either magic loop or DPN’s.
Other Abbreviations Used
BOR: beginning of round
Place Marker (pm): place a stitch marker onto right needle
Slip Marker (sm): slip the stitch marker from the left needle to the right needle
Ribbed Cuff
Using smaller needles and long-tail cast on method, CO 72 (84, 96, 108, 120) stitches, join in the round first ensuring that your cast on has no twists and place marker for BOR (this marker will need to be slipped at the beginning of every round)
Round 1: (k1, p1) repeat to end
Repeat round 1 until ribbing measures 2.5 (2.5, 3.5, 3.5, 5, 5) cm / 1 (1.5, 1.5, 2, 2) inches from cast on edge
Switch to larger needles
Stockinette Body
Round 1: k to end
Repeat round 1 until piece measures 12.5 (15, 16.5, 17.5, 20.5) cm / 5 (6, 6.5, 7, 8) inches from cast on edge
Decreases
Round 1: *ssk, k8 (10, 12, 14, 16), k2tog, pm, repeat from * to end 5 more times
Round 2 & 3: k to end
Round 4: *ssk, k to 2 stitches before marker, k2tog, sm, repeat from * to end 5 more times
Repeat rounds 2-4 until 12 stitches remain
Finishing
Cut yarn leaving a 10cm (4 inch) tail, thread the yarn onto an embroidery needle and then thread the needle through the 12 live stitches, removing the knitting needle and stitch markers as you go. Pull yarn firmly, closing the top of the hat. Insert the needle through the first 2 stitches once more and then insert into the hat so that your yarn end and needle are on the inside. Turn your hat inside out and firmly weave in the tail of yarn ensuring you keep a tight tension for the first few stitches as the top of the hat does have a tendency to open. Weave in any other ends.
Awesome work, your beanie is finished!

0 comments